分类
商品
TinyShop(后台+商城插件+商城h5)环境部署安装教程_TinyShop搭建教程
TinyShop演示网站
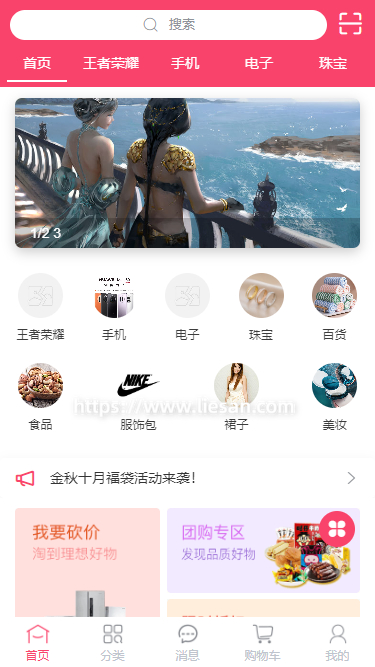
H5 预览: http://h5.tinyshop.rageframe.com
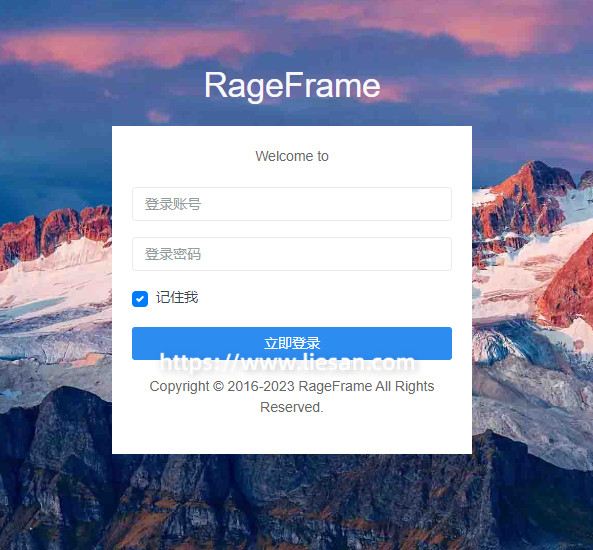
后台预览: http://demo2.rageframe.com/backend
账号: demo
密码: 123456
首先安装服务器环境 例如: Apache + Mysql5.7+ PHP7.4(安装扩展 fileinfo+禁用函数 putenv) + phpMyAdmin5.0
宝塔用户需要2个操作:
① 关闭放跨站攻击
② 网站目录:路径选择 指向默认打开web文件 例如:/www/wwwroot/你的域名/rageframe3-master/web
1、克隆(或直接下载 https://github.com/jianyan74/rageframe3 后台源码上传至服务器)
git clone https://github.com/jianyan74/rageframe3.git
2、进入目录(rageframe3是解压后的文件名,如果不是这个名字,例如是 rageframe3-master 的话,则进入 cd rageframe3-master 文件夹)
cd rageframe3
3、安装依赖
php composer.phar install
// 然后输入yes 回车后 进行安装
4、初始化项目
php init
// 然后输入0回车,再输入yes回车
5、配置数据库信息
找到文件 common/config/main-local.php 并配置【dbname】【username】【password】相应的信息, 注意要先创建好数据库 填入对应的数据库名和密码
6、安装数据库(Mysql5.7及以上)
php ./yii migrate/up
// 然后输入yes 回车后 进行安装
7、初始化账号密码,一键创建总管理员账号密码(注意保存)
php ./yii password/init
8、建议更新第三方扩展包(可选)
php composer.phar update
9、Linux 下文件缓存权限授权
Linux 环境下如果是文件缓存去 backend/runtime 目录执行一下 chmod -R 777 cache,不执行可能会造成修改了网站设置缓存不生效的情况
10、配置伪静态,参考下面的伪静态
注意系统默认自带了.htaccess,所以环境如果是apache可以不用再配置
Options +FollowSymLinks
IndexIgnore */*
RewriteEngine on

# if a directory or a file exists, use it directly
RewriteCond %{REQUEST_FILENAME} !-f
RewriteCond %{REQUEST_FILENAME} !-d

# otherwise forward it to index.php
RewriteRule . index.php推荐配置
location / {
    try_files $uri $uri/ /index.php$is_args$args;
}
location /backend {
    try_files $uri $uri/ /backend/index.php$is_args$args;
}
location /api {
    try_files $uri $uri/ /api/index.php$is_args$args;
}
location /merchant {
    try_files $uri $uri/ /merchant/index.php$is_args$args;
}
location /html5 {
    try_files $uri $uri/ /html5/index.php$is_args$args;
}
location /oauth2 {
    try_files $uri $uri/ /oauth2/index.php$is_args$args;
}

location ~* ^/attachment/.*.(php|php5)$
{
    deny all;
}rule 部分配置
<rule name="backend" stopProcessing="true">
    <match url="^backend/(.*)" />
    <conditions logicalGrouping="MatchAll">
        <add input="{REQUEST_FILENAME}" matchType="IsFile" ignoreCase="false" negate="true" />
        <add input="{REQUEST_FILENAME}" matchType="IsDirectory" ignoreCase="false" negate="true" />
    </conditions>
    <action type="Rewrite" url="backend/index.php/{R:1}" />
</rule>
<rule name="merchant" stopProcessing="true">
    <match url="^merchant/(.*)" />
    <conditions logicalGrouping="MatchAll">
        <add input="{REQUEST_FILENAME}" matchType="IsFile" ignoreCase="false" negate="true" />
        <add input="{REQUEST_FILENAME}" matchType="IsDirectory" ignoreCase="false" negate="true" />
    </conditions>
    <action type="Rewrite" url="merchant/index.php/{R:1}" />
</rule>
<rule name="html5" stopProcessing="true">
    <match url="^html5/(.*)" />
    <conditions logicalGrouping="MatchAll">
        <add input="{REQUEST_FILENAME}" matchType="IsFile" ignoreCase="false" negate="true" />
        <add input="{REQUEST_FILENAME}" matchType="IsDirectory" ignoreCase="false" negate="true" />
    </conditions>
    <action type="Rewrite" url="html5/index.php/{R:1}" />
</rule>
<rule name="api" stopProcessing="true">
    <match url="^api/(.*)" />
    <conditions logicalGrouping="MatchAll">
        <add input="{REQUEST_FILENAME}" matchType="IsFile" ignoreCase="false" negate="true" />
        <add input="{REQUEST_FILENAME}" matchType="IsDirectory" ignoreCase="false" negate="true" />
    </conditions>
    <action type="Rewrite" url="api/index.php/{R:1}" />
</rule>
<rule name="oauth2" stopProcessing="true">
    <match url="^oauth2/(.*)" />
    <conditions logicalGrouping="MatchAll">
        <add input="{REQUEST_FILENAME}" matchType="IsFile" ignoreCase="false" negate="true" />
        <add input="{REQUEST_FILENAME}" matchType="IsDirectory" ignoreCase="false" negate="true" />
    </conditions>
    <action type="Rewrite" url="oauth2/index.php/{R:1}" />
</rule>
<rule name="frontend" stopProcessing="true">
    <match url="^(.*)$" />
    <conditions logicalGrouping="MatchAll">
        <add input="{REQUEST_FILENAME}" matchType="IsFile" ignoreCase="false" negate="true" />
        <add input="{REQUEST_FILENAME}" matchType="IsDirectory" ignoreCase="false" negate="true" />
    </conditions>
    <action type="Rewrite" url="index.php/{R:1}" />
</rule>
到此后台安装完成

后台管理地址:https://你的域名/backend/
后台账号密码:上面 第7、步骤 保存的总管理账号密码
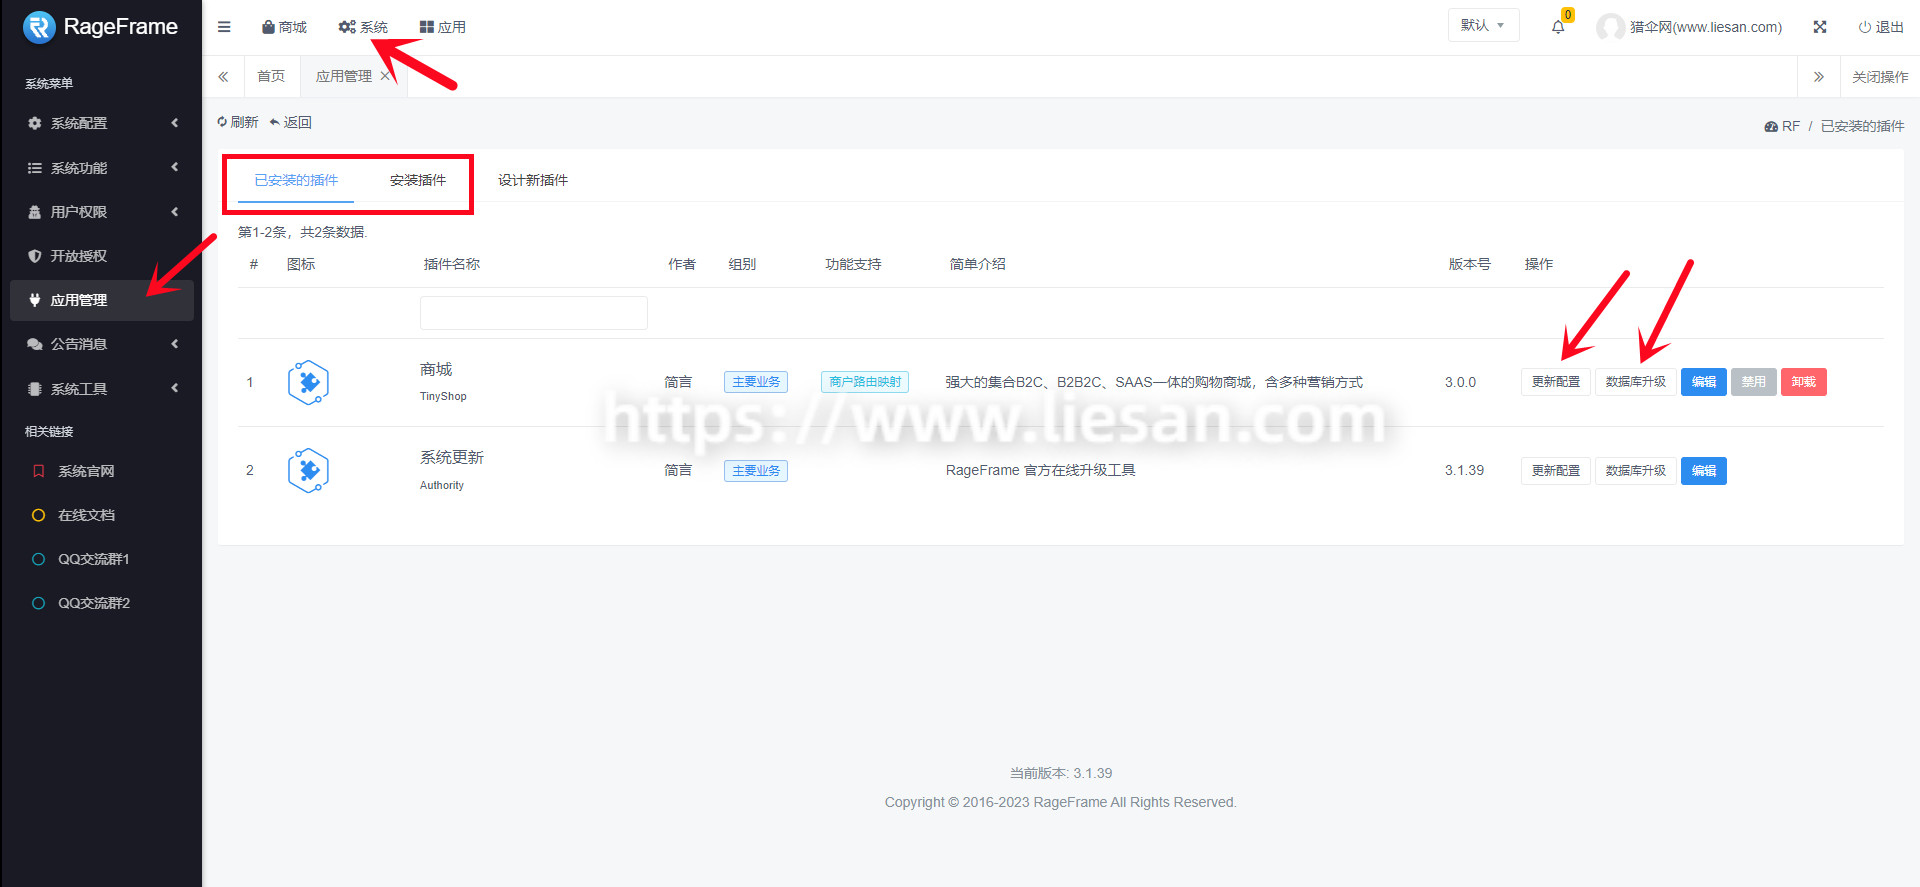
1、克隆(或直接下载 https://github.com/jianyan74/TinyShop 商城插件源码上传至根目录下addons目录下)
git clone https://github.com/jianyan74/TinyShop.git

到此上传后台商城插件已经安装好
// 安装yarn命令
npm i -g yarn

// 安装依赖
yarn
baseURL: 'https://www.liesan.com/api', // 后台接口请求地址
hostURL: 'https://tinyshop.liesan.com', // H5地址(前端运行地址)
最后把打包的H5文件上传至服务器即可

注意:步骤 一和二 是后台域名,步骤三需要另外创建个域名


我的
足迹
投稿
反馈
客服
客服QQ:104****84 (点击直接对话)
客服电话:400****16(查看完整电话)
客服邮箱:service@liesan.com
管理仅处理交易投诉、举报、帐号、资金等平台使用问题;
商品问题请咨询各商品详情页面中显示的商家客服QQ。